Regrinding Ballnose Endmill and Bullnose Corner Radius on Variable Flute End Mills
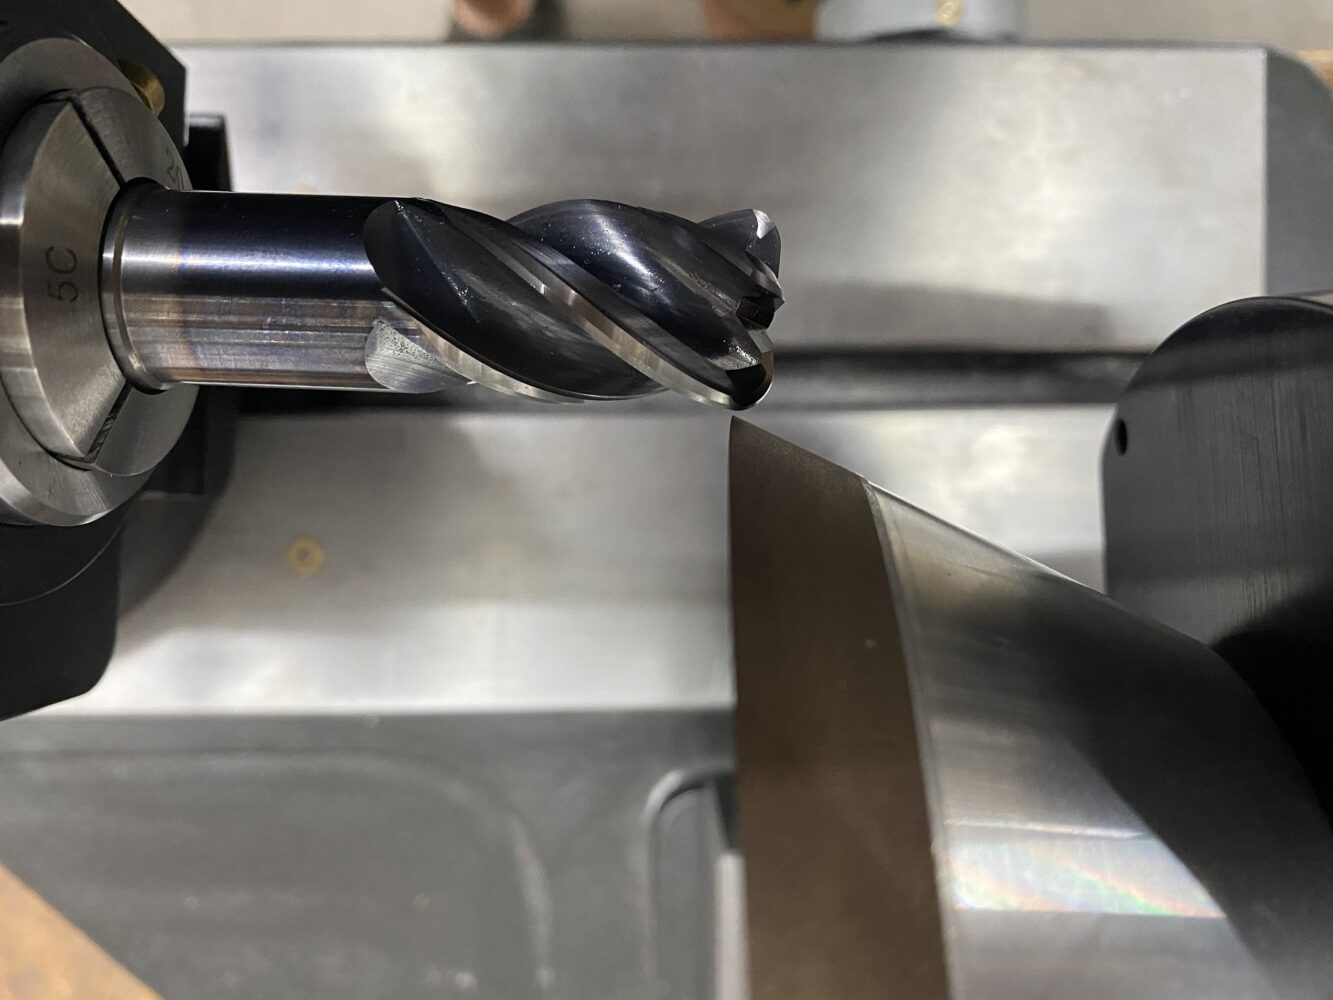
We were presented with a bit of a challenge — A couple of 10 mm ball endmills, not sure of the pitch,
a 12mm 3 mm bullnose variable pitch, and a 20 mm 4 mm Bullnose variable pitch
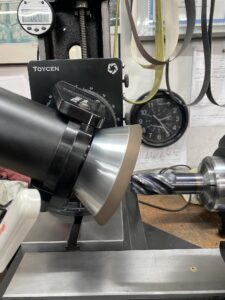
Getting set up to grind some test tools
How we picked up the Variable Flutes, There is a cool picture down at the bottom just to illustrate how crazy variable pitch can be.
Every manufacturer has its own idea of how to make the flutes Variable.
In this case, we assumed (rightly or wrongly), that the center cutting flutes were straight across (1 and 3) and 2 and 4 were pitched forward. Hopefully the customer will let us know how we did 🙂 when he runs our tools.
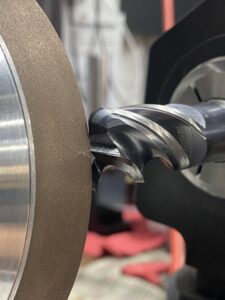
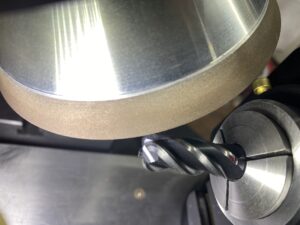
My mission was to see if I could pick up all of the important grinds: primary, secondary, rads, on the Journeyman and regrind them.
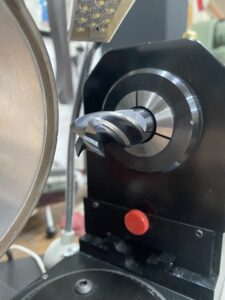
Examine The flute locations
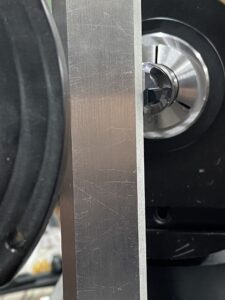
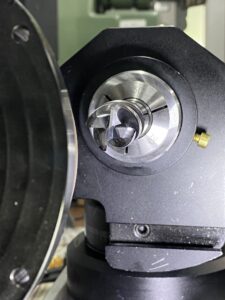
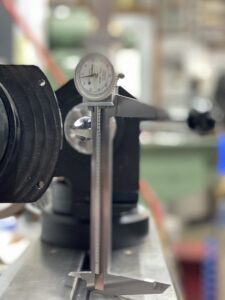
Using a square line up vertical —– Rotate the tool over check the height (not necessary)
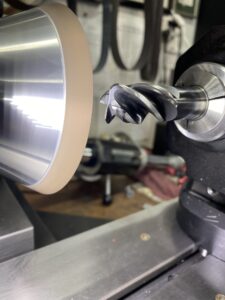
After the flutes Grind the end Roll the squared flute over to horizontal
Primary
Do secondary during the primary set up so there is a relationship
Flutes 2 and 4 Loosen the tool, set the flute vertical (don’t change length)
tighten the collet with the new flute timed vertical, rotate it over to horizontal
You should be all set for Flutes 2 and 4 if they seem symmetrical.
This picture from the machinists blog illustrates a fairly complex variable pitch.
Sharpening variable pitch flutes on a tooth rest is pretty straightforward as you’re following the flute profile with the rest.
Grinding ends can not be done using the fixed angle index collar without some individual attention to the location of each flute end.
Mission Accomplished
 Contact Us
  Phone
Phone 


